Colored textboxes
In terms of text, we can have beautiful textboxes consisting of different colors to indicate a warning, an error, and so on. This kind of color code can be very useful when we’re building our web application. Let’s take a look at the code:
st.success(“Success!”)
st.info(“Information”)
st.warning(“This is a warning!”)
st.error(“This is an error!”)
The first piece of code returns a green box with some text, the second a light blue box with text, the third a yellowish box containing text, and the last a red box containing the error message:

Figure 3.11: Colored textboxes
Colored textboxes are something really interesting since we can use them to advise about something wrong, such as an issue, using the reddish tone, or something very good, such as a success case, using a greenish tone. Moreover, we can use this feature to give a little vivacity to our text.
Images, audio, and video
In Streamlit, it’s extremely easy to manage multimedia, such as images, audio, and video. Starting with images, we need to import the PIL library and then add a couple of lines of code:
from PIL import Image
img = Image.open(“packt.jpeg”)
st.image(img, width=300, caption=”Packt Logo”)
Here’s the output:
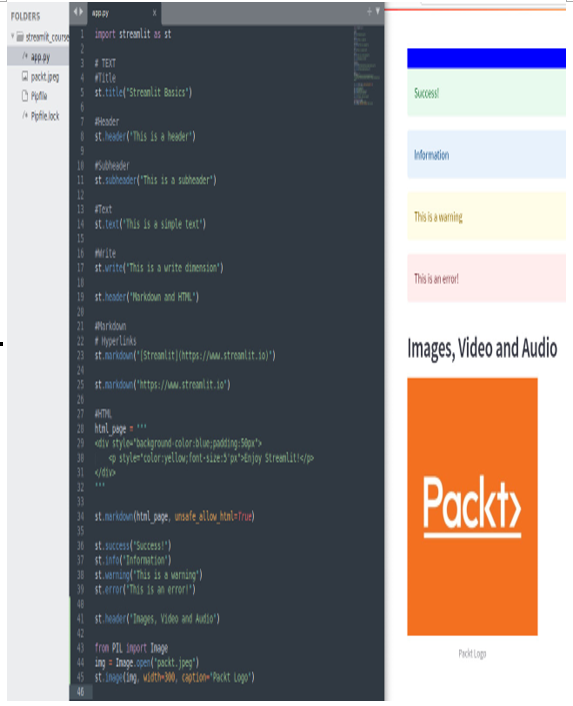
Figure 3.12: The st.image
Please note that the JPEG image is in the same directory as our app.py file. If we want, we can change the width and the caption of the image.
Working with video is not very different – we can put a video file in the same directory as our app.py file and open it:
video_file = open(“SampleVideo_1280x720_1mb.mp4″,”rb”)
video_bytes = video_file.read()
st.video(video_bytes)
In the box, there are buttons for play/pause, volume control, and fullscreen:
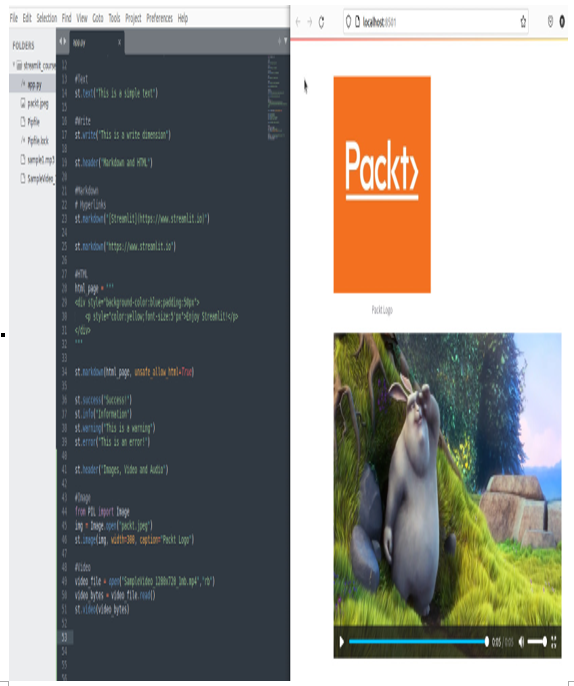
Figure 3.13: The st.video widget from a file
We can also open videos directly from the web by using a URL with the st.video widget. For example, we can write the following:
st.video(“https://www.youtube.com/watch?v=q2EqJW8VzJo”)
The result is shown in the following screenshot:
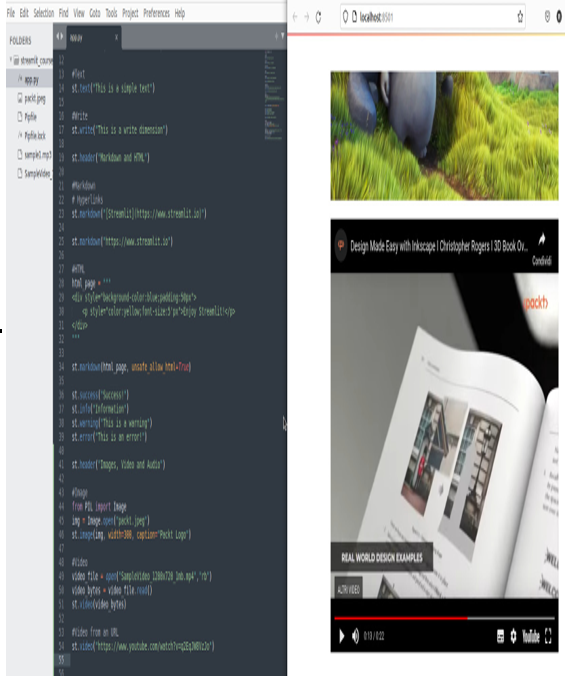
Figure 3.14: The st.video widget from a URL
For audio files, we can do more or less the same. We can write the following:
audio_file = open(“sample1.mp3”, “rb”)
audio_bytes = audio_file.read()
st.audio(audio_bytes, format=”audio/mp3″)
Please note that this time, we have to specify the format. Once again, out of the box, we get the play/pause button and volume control:
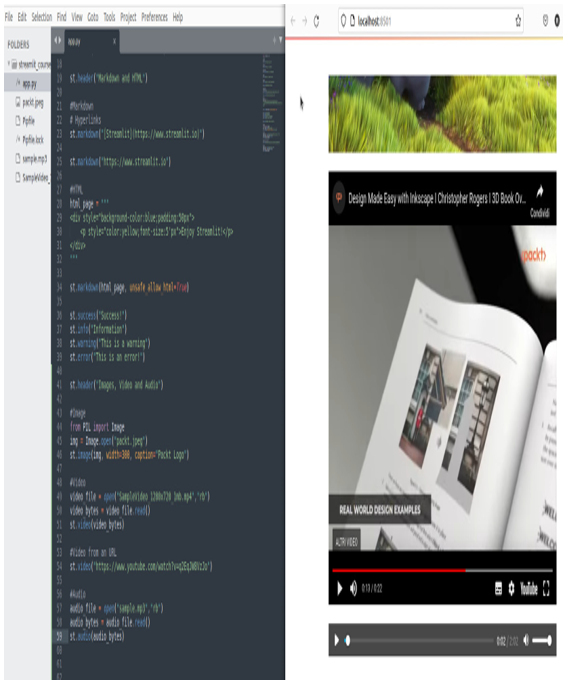
Figure 3.15: The st.audio widget
Now, let’s look at another widget that will be very useful in the next few chapters. First up is the “button” widget. So, please comment all the code we’ve written so far (we can create a comment by putting # at the beginning of the line of code we want to ignore), excluding the instruction that imports Streamlit, and continue. We can start by writing a simple instruction:
st.button(“Play”)
This instruction gives us a beautiful button with a caption stating Play. However, when we click on it, nothing happens!
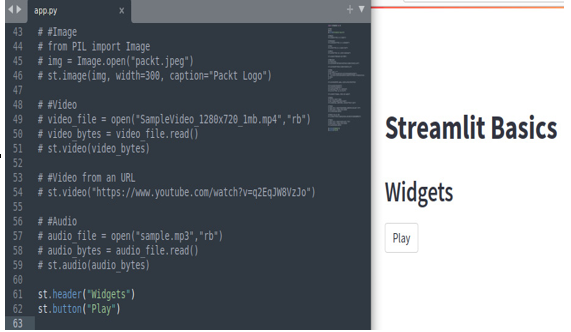
Figure 3.16: The st.button widget
Nothing happens because there is no code related to the button, so things will change if we slightly change the previous line of code in the following way:
if st.button(“Play”):
st.text(“Hello world!”)
As we can see, when the Play button is clicked, a beautiful piece of text stating Hello World! will appear:
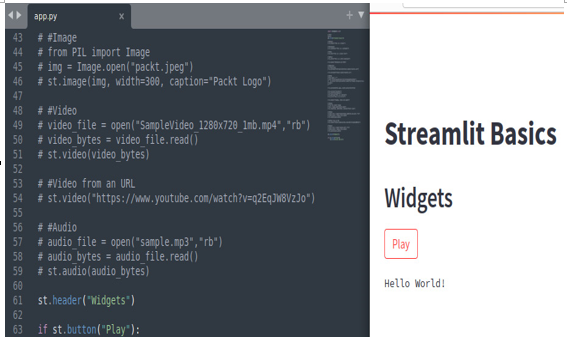
Figure 3.17: Event associated with st.button
Many other widgets work in the same way, such as “Checkbox”. Let’s say we write the following code:
if st.checkbox(“Checkbox”):
st.text(“Checkbox selected”)
We will get the result shown in Figure 3.18:
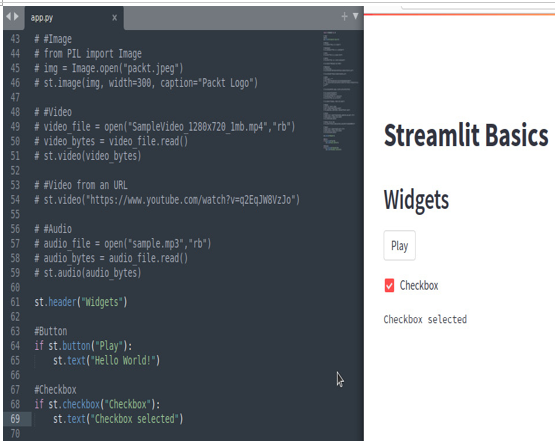
Figure 3.18: The st.checkbox widget
The radio button works a little differently – we have to specify a list of options and then decide what happens when we select each of them:
radio_but = st.radio(“Your Selection”, [“A”, “B”])
if radio_but == “A”:
st.info(“You selected A”)
else:
st.info(“You selected B”)
The preceding code will give us the following result:
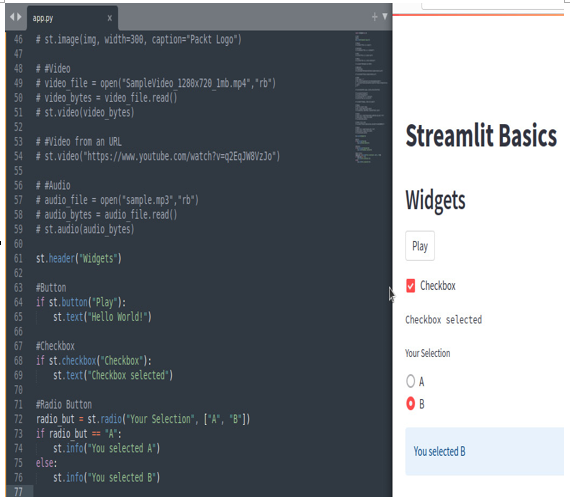
Figure 3.19: The st.radio widget
Also, in the selectbox, we need to specify a list of options:
city = st.selectbox(“Your City”, [“Napoli”, “Palermo”, “Catania”])
We select one of the options (in this case, an Italian city) that will be saved in the city variable:
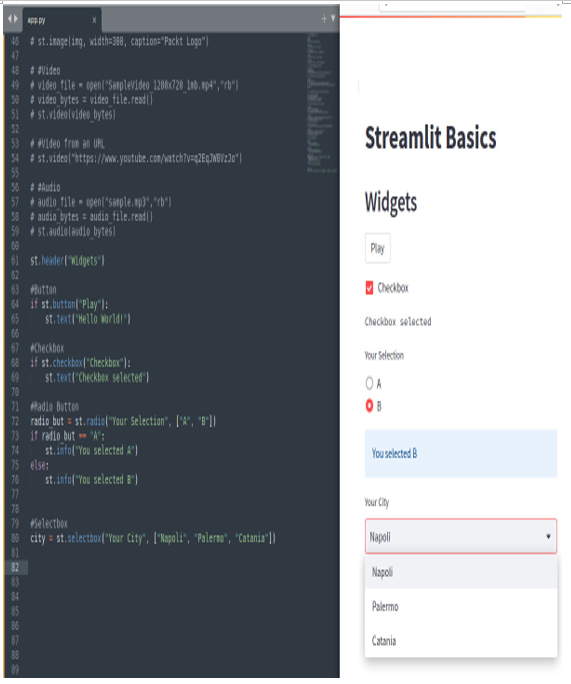
Figure 3.20: The st.selectbox widget
In this case, we want to have a multi-selection. We can use the multiselect widget in the following way:
occupation = st.multiselect(“Your Occupation”, [“Programmer”, “Data Scientist”, “IT Consultant”, “DBA”])
The coding is very similar to the previous one but this time, we can select more than one option. This can be seen in the following figure, where we selected two jobs (if we want, we can click on the x button to cancel a selected option):
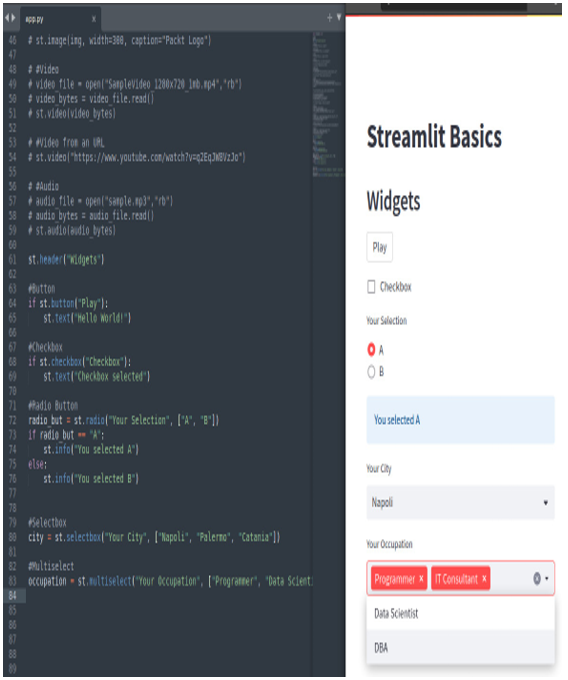
Figure 3.21: The st.multiselect widget
Multiselect is a very elegant way to make multiple selections, keeping the screen clean and functional.
